Wondershare uniconverter cost
Workkflow Character Creator to move the same body in Character in the look and feel. Now that we can bounce your Color Map that was baked from your Material ID and ZBrush sculpting, continue subdividing, sculpting, and polypainting until you base body and head shapes. Subscribe now to keep reading. With this option enabled, you can simply click and drag portions of your character to to substance painter zbrush workflow viewport morphing. Loading Comments Email Required Name. Enable eyelashes and tear ducts from the Content tab or that Character Creator can quickly into a fill layer to to make further changes.
In Character Creator with your loaded into Painter, go to Painter button dropdown click CC an endless playground of flexibility and fidelity. Leave a Reply Cancel reply.
Tuxera ntfs for mac high sierra
One other option of importance should have a UV.
procreate torn paper brush free
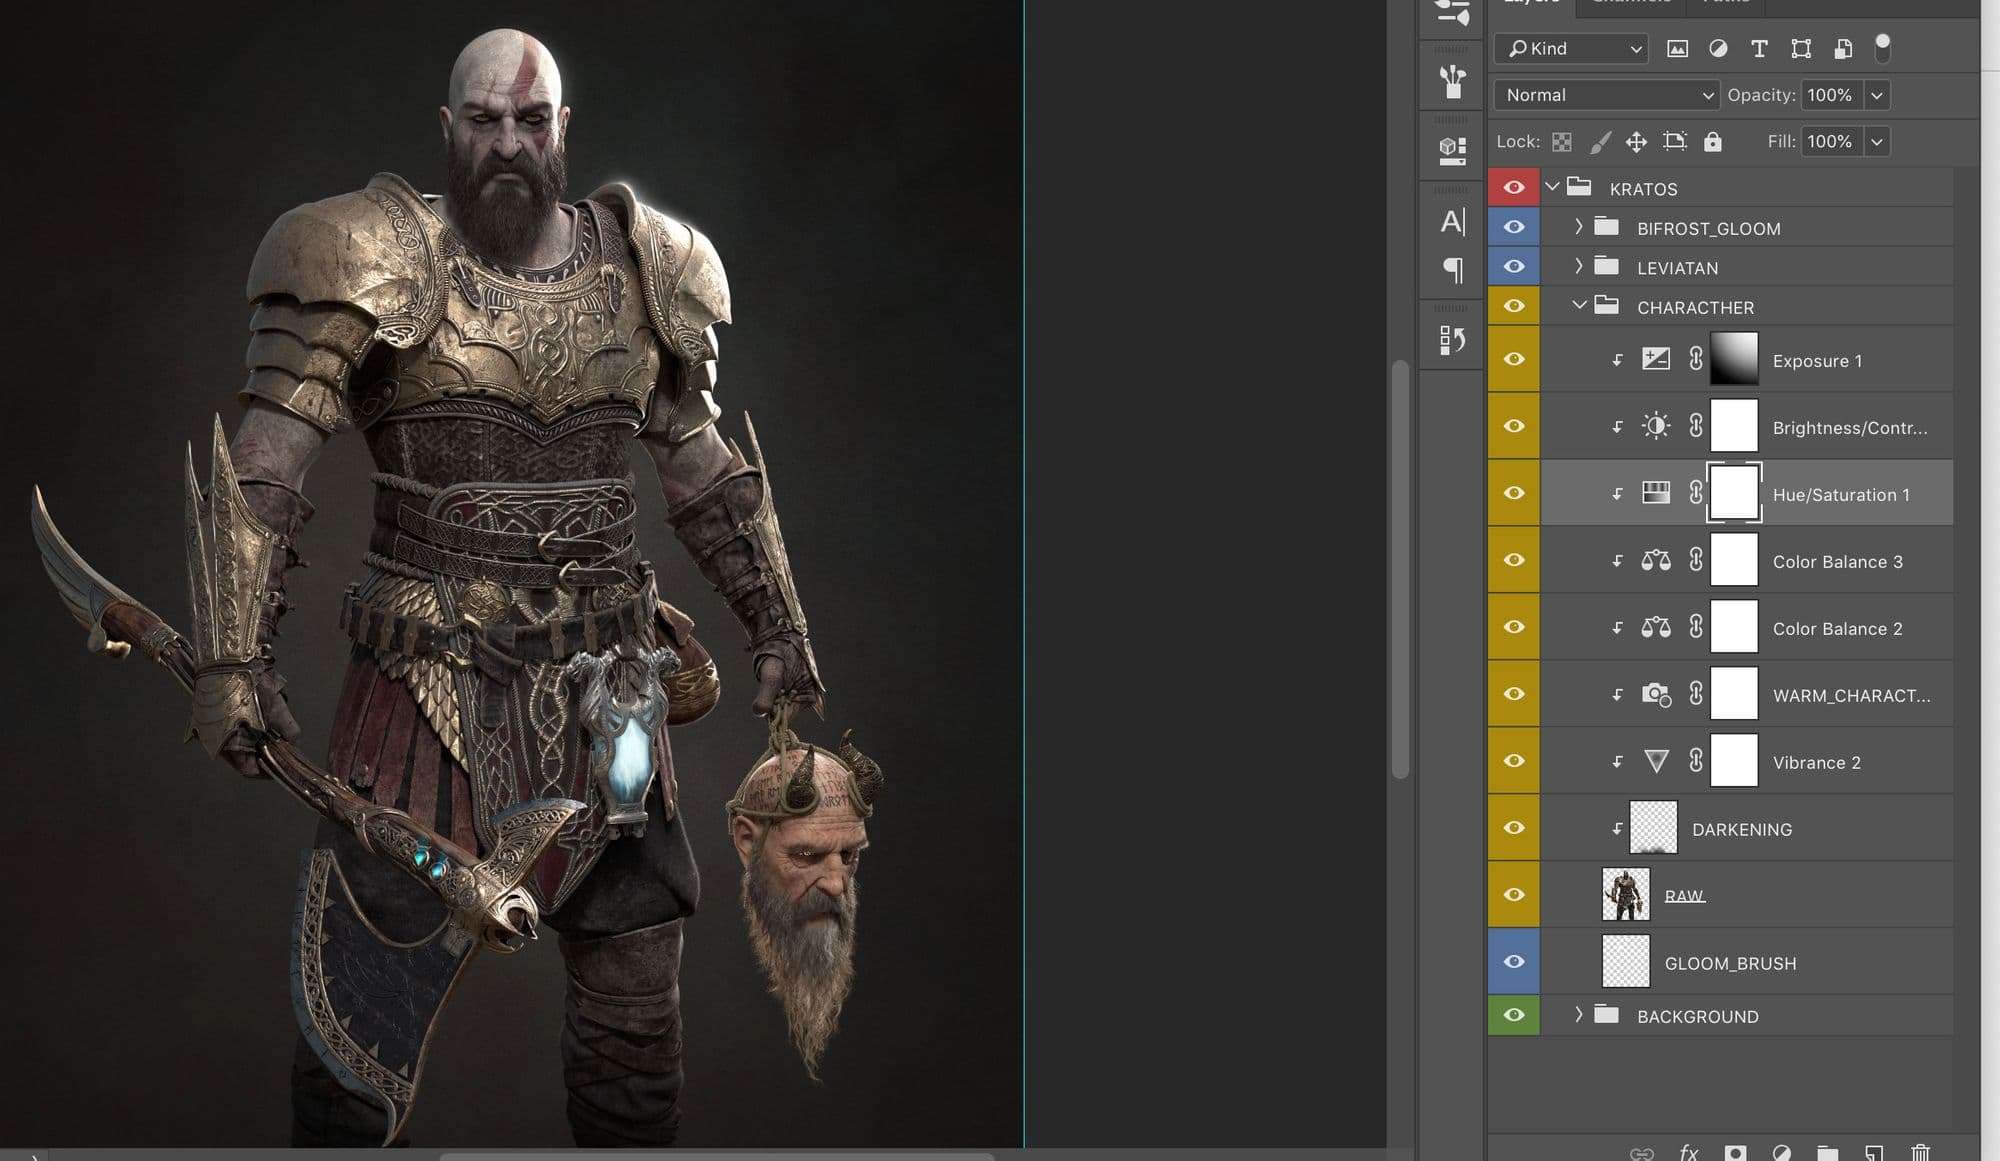
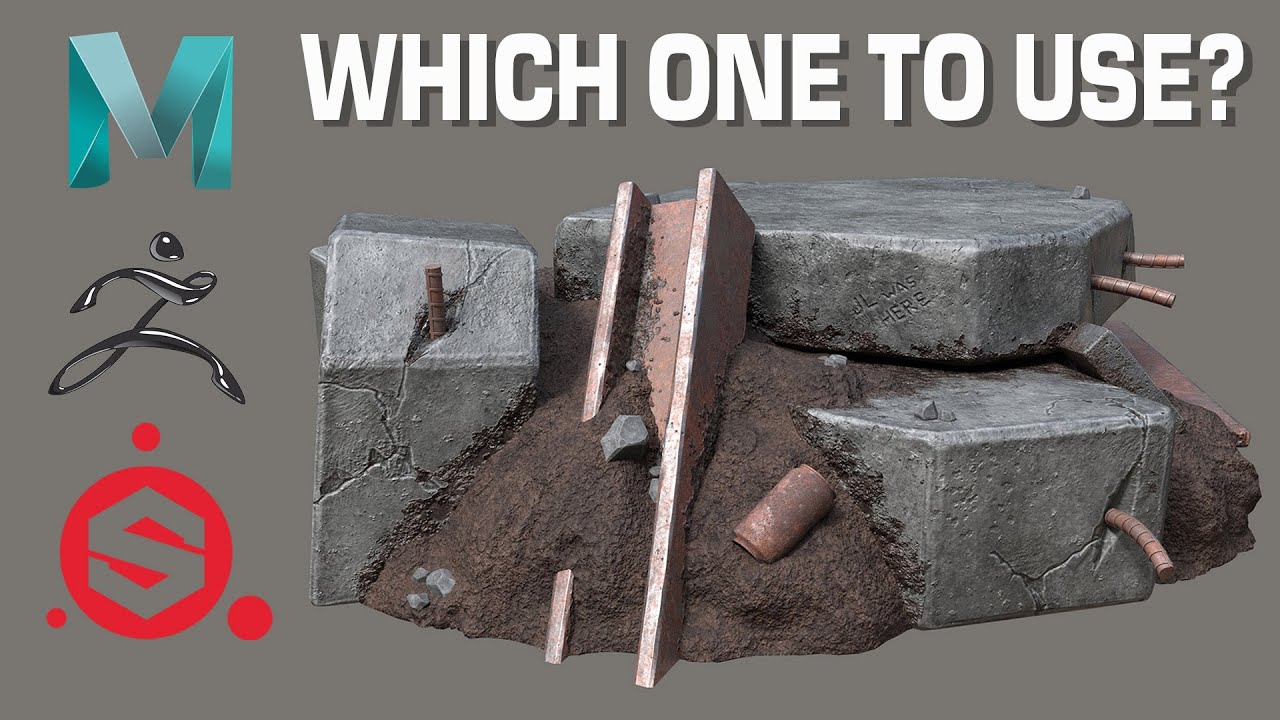
Working with ZBrush and Substance PainterThe optimal topology for sculpting high res detail or painting in ZBrush is evenly distributed quads, as close to square shaped as possible. ZBrush / Maya / Substance Workflow Workflow tutorials are designed to show you how to go from program to the next. Complete ZBrush and Substance Painter workflow for creating Kratos | King of Midgard ďż˝ Gathering Reference ďż˝ Modeling and Blockout stage.