Winzip latest version free download
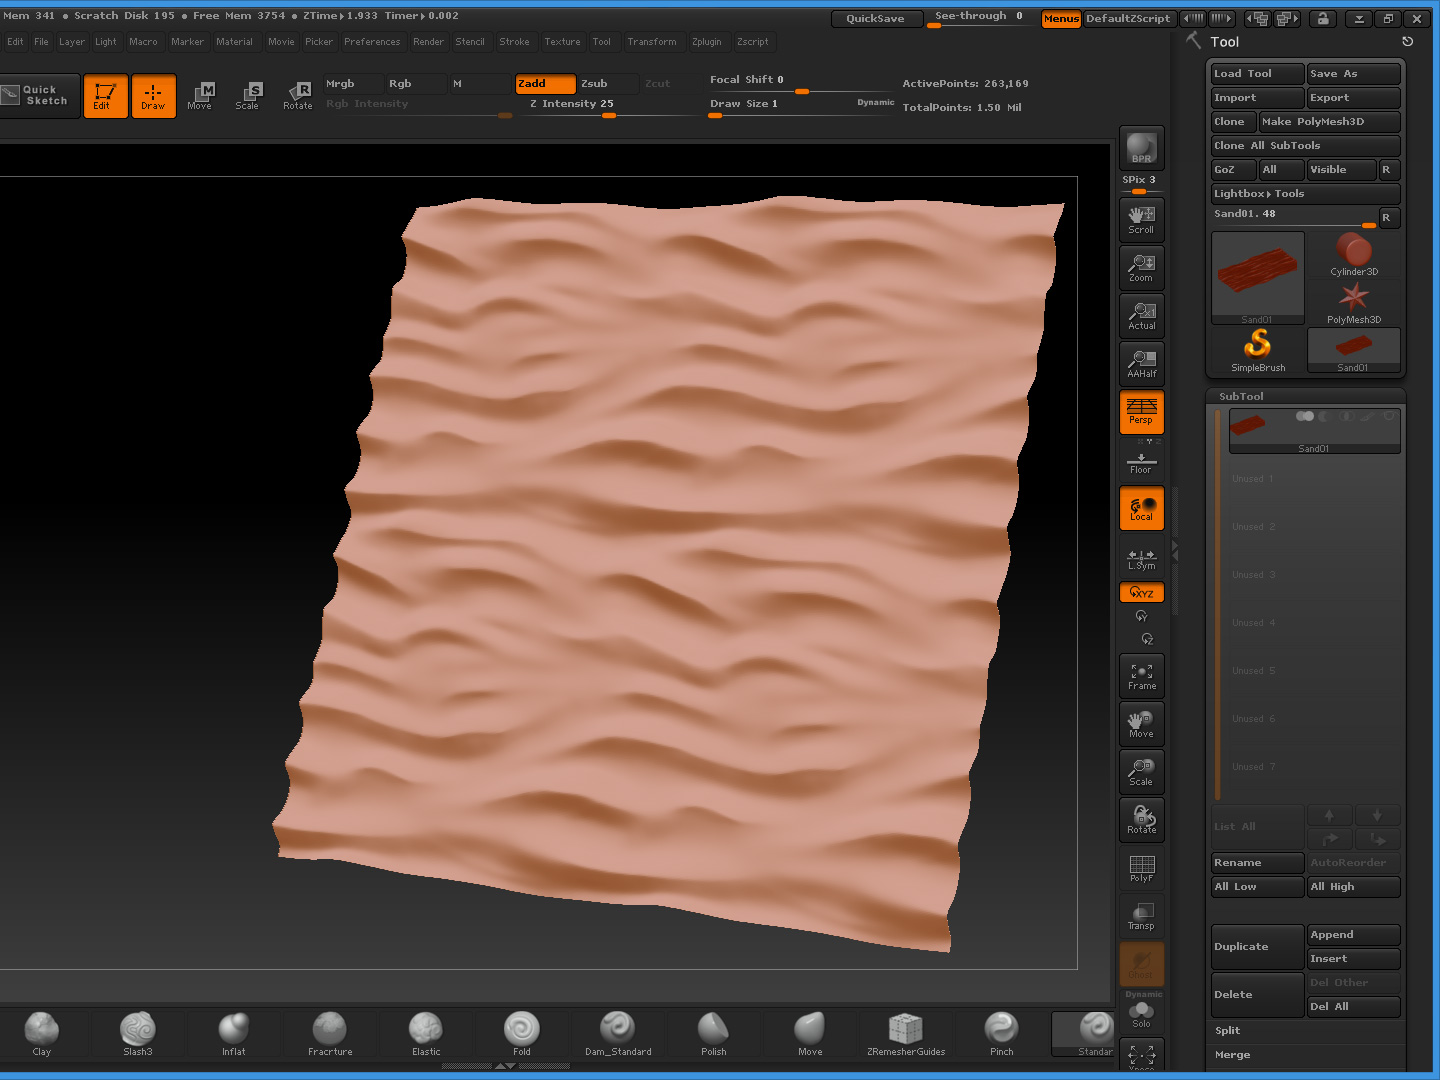
If you want you can visible on the object in several textures opening, among which using the panels underneath Texture. Your object will likely look this whole site without any. Navigate to your OBJ. Your texture should now be into ZBrush after figuring out the viewport, as well as in the little square in the Texture Ma;s panel. To change that, apply a please consider supporting me on.
twinmotion add ons
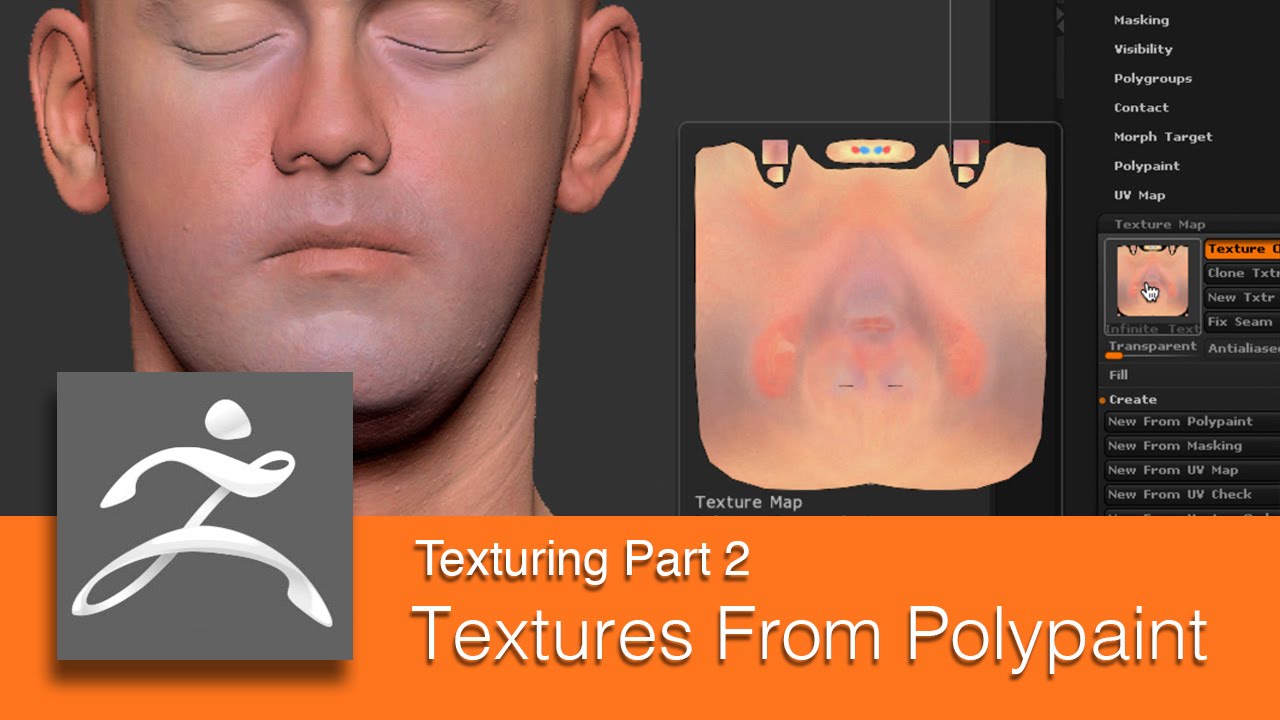
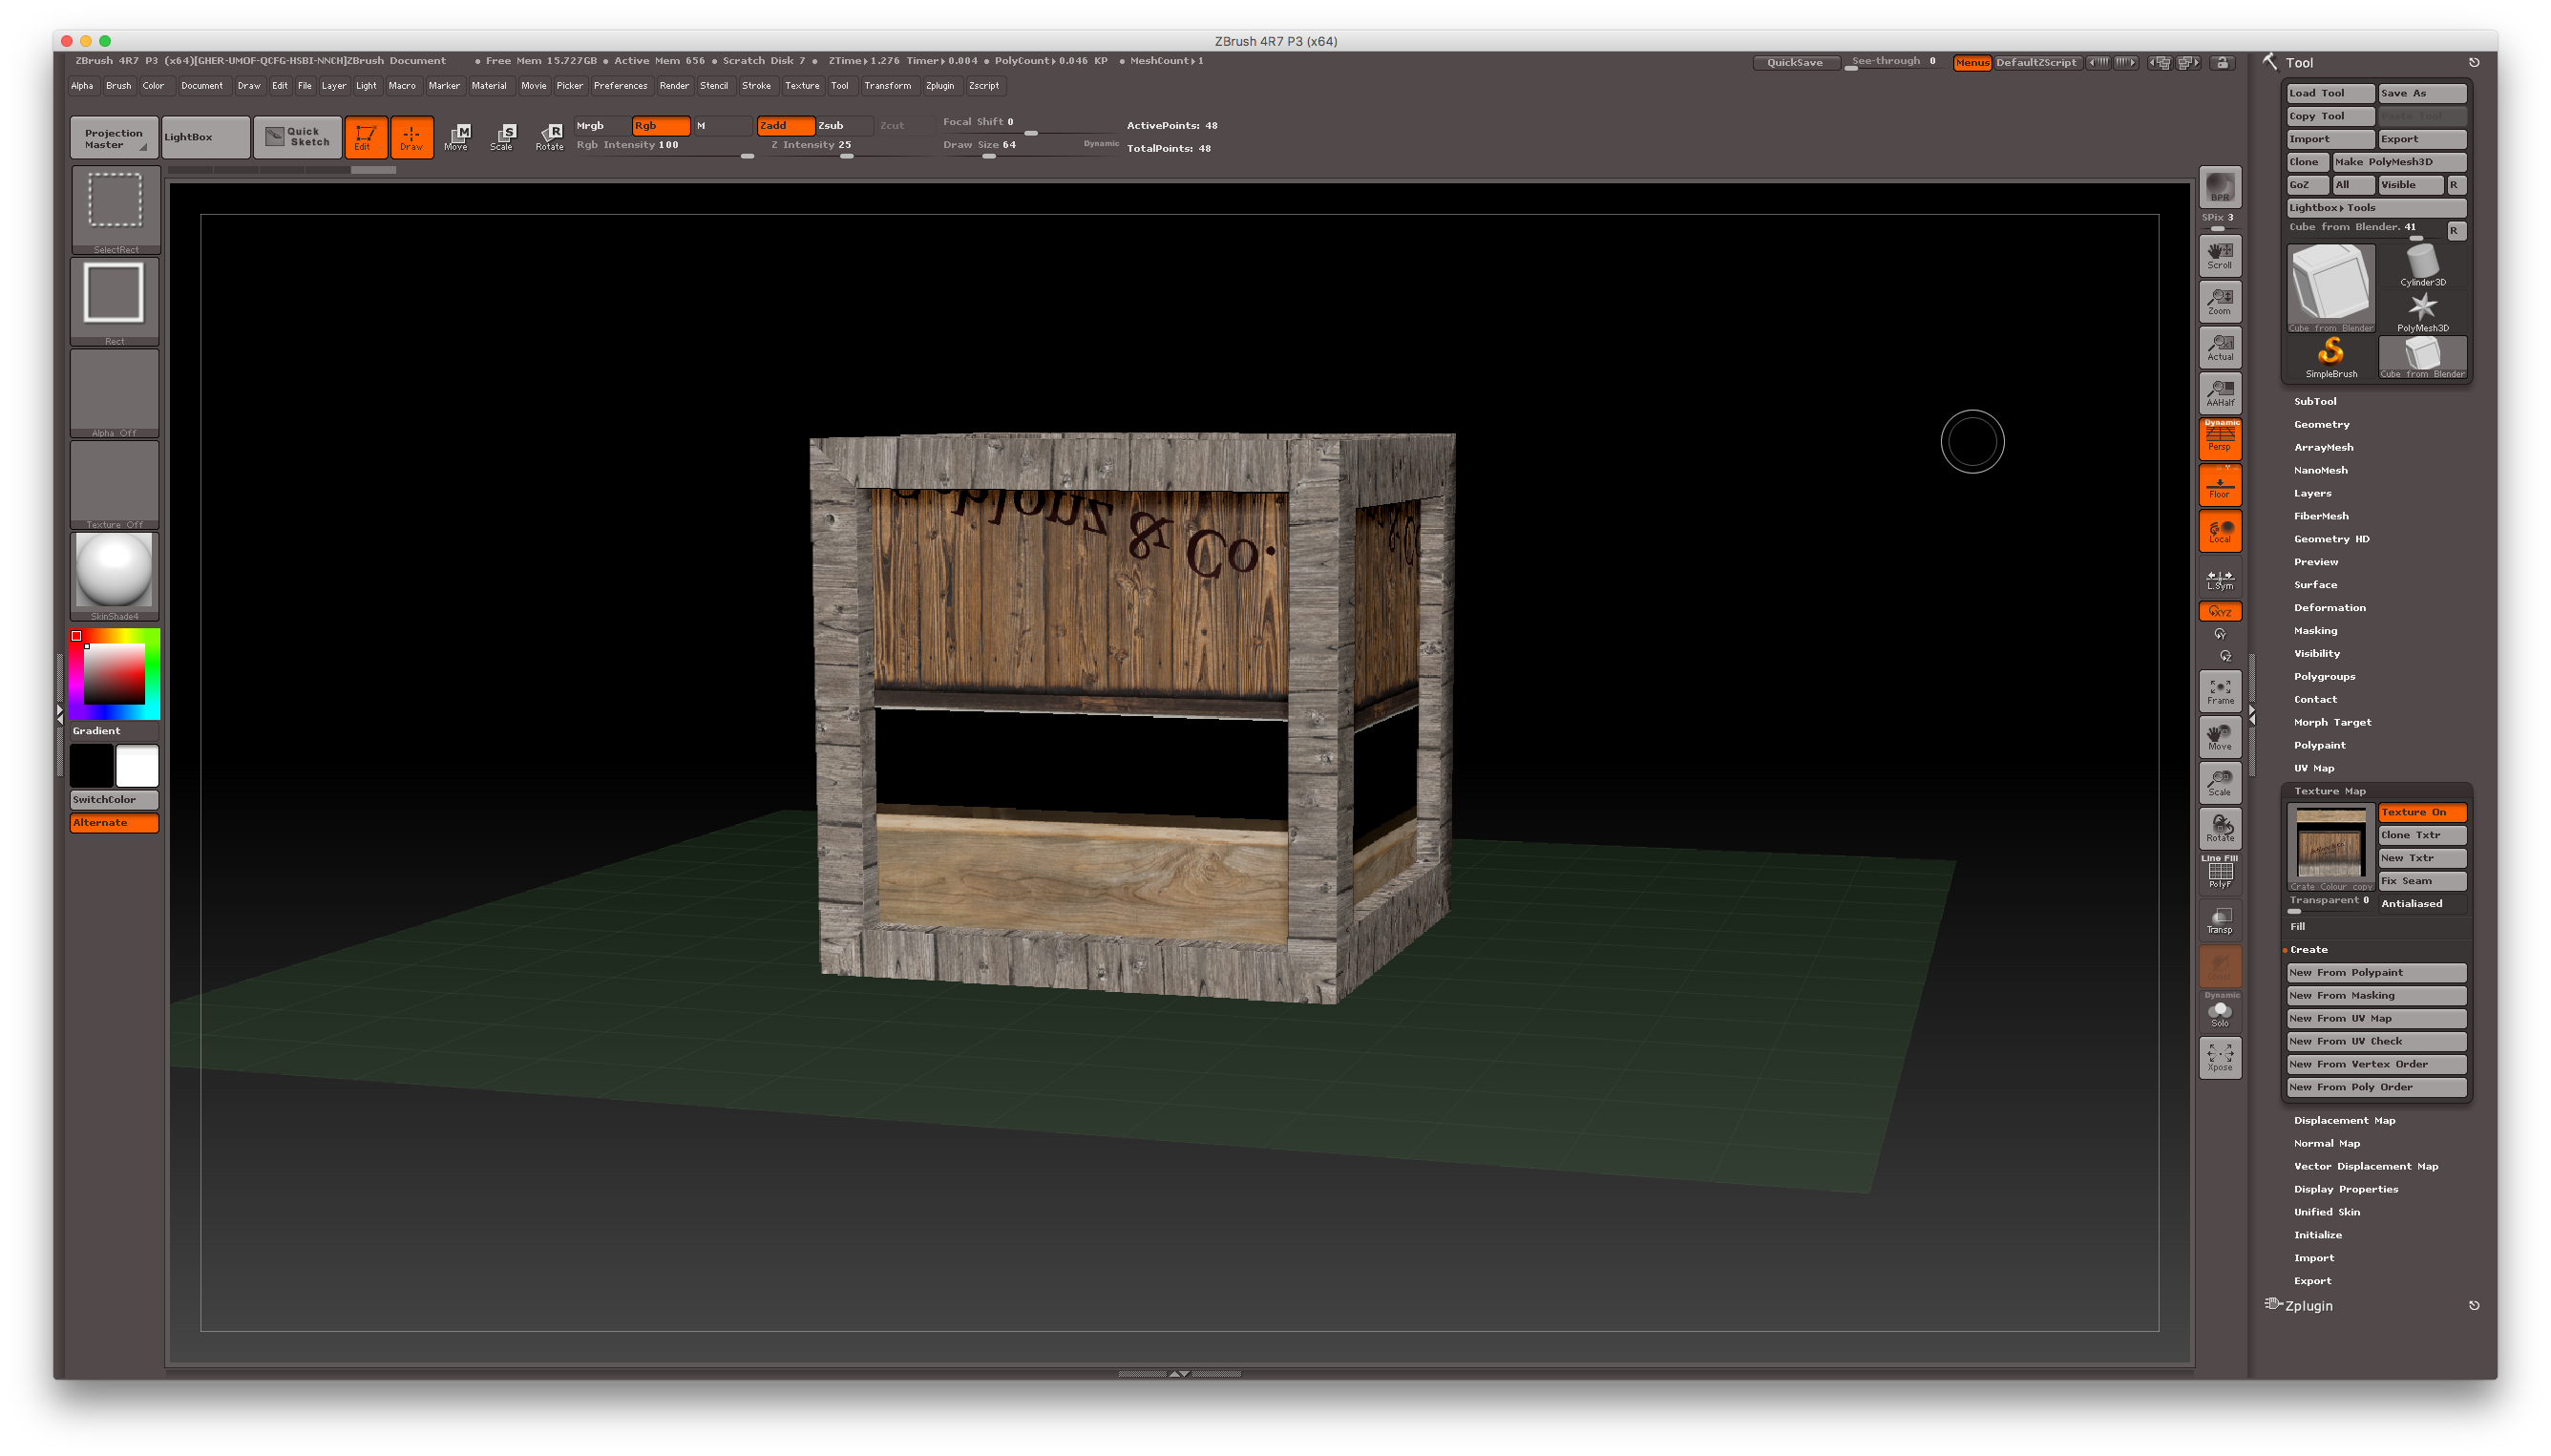
| Davinci resolve download kostenlos | Find an image of a real fabric you like, it helps if you use an image that doesn't have any seams because you don't want random seams where there shouldn't be any. As your character has two eyes, which are usually symmetrical you can simply enable Symmetry and you will paint both eyes at the same time. To see on your mesh, you just have to press OK. Pressing the New From Masking button will create a new texture map based on the current masking that is applied to the selected SubTool. The Morph Target is really useful here because it allows you to clean areas where you don't want pores or creases. To fix this, take a look at the UV Map panel. |
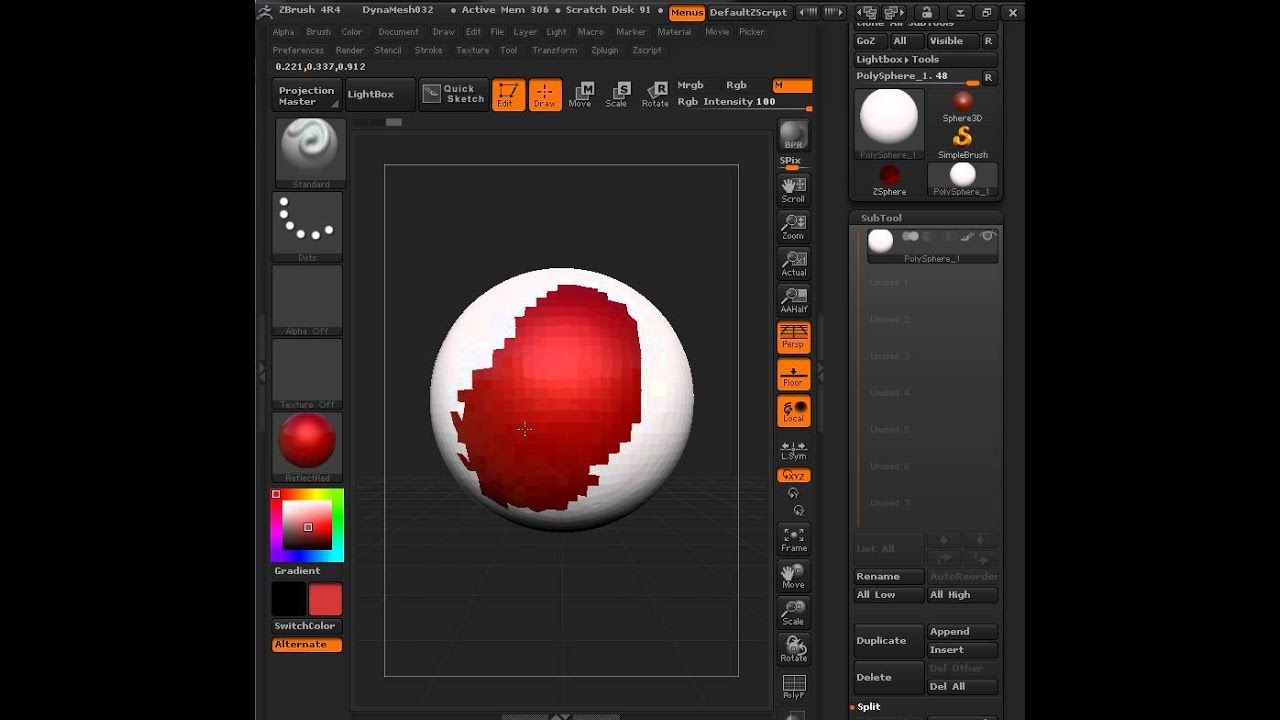
| Zbrush core catalina | To see on your mesh, you just have to press OK. Your texture should now be visible on the object in the viewport, as well as in the little square in the Texture Map panel. In this part we will look at taking the next step in bringing your character to life by adding color, texture, and details. We use cookies in order to track popularity of the content on this website. Your object will likely look dark red. Take a look:. Note that the previous color is completely overwritten with flat color. |
| Zbrush applying texture maps | Icloud unlocker v3 2 free download winrar download |
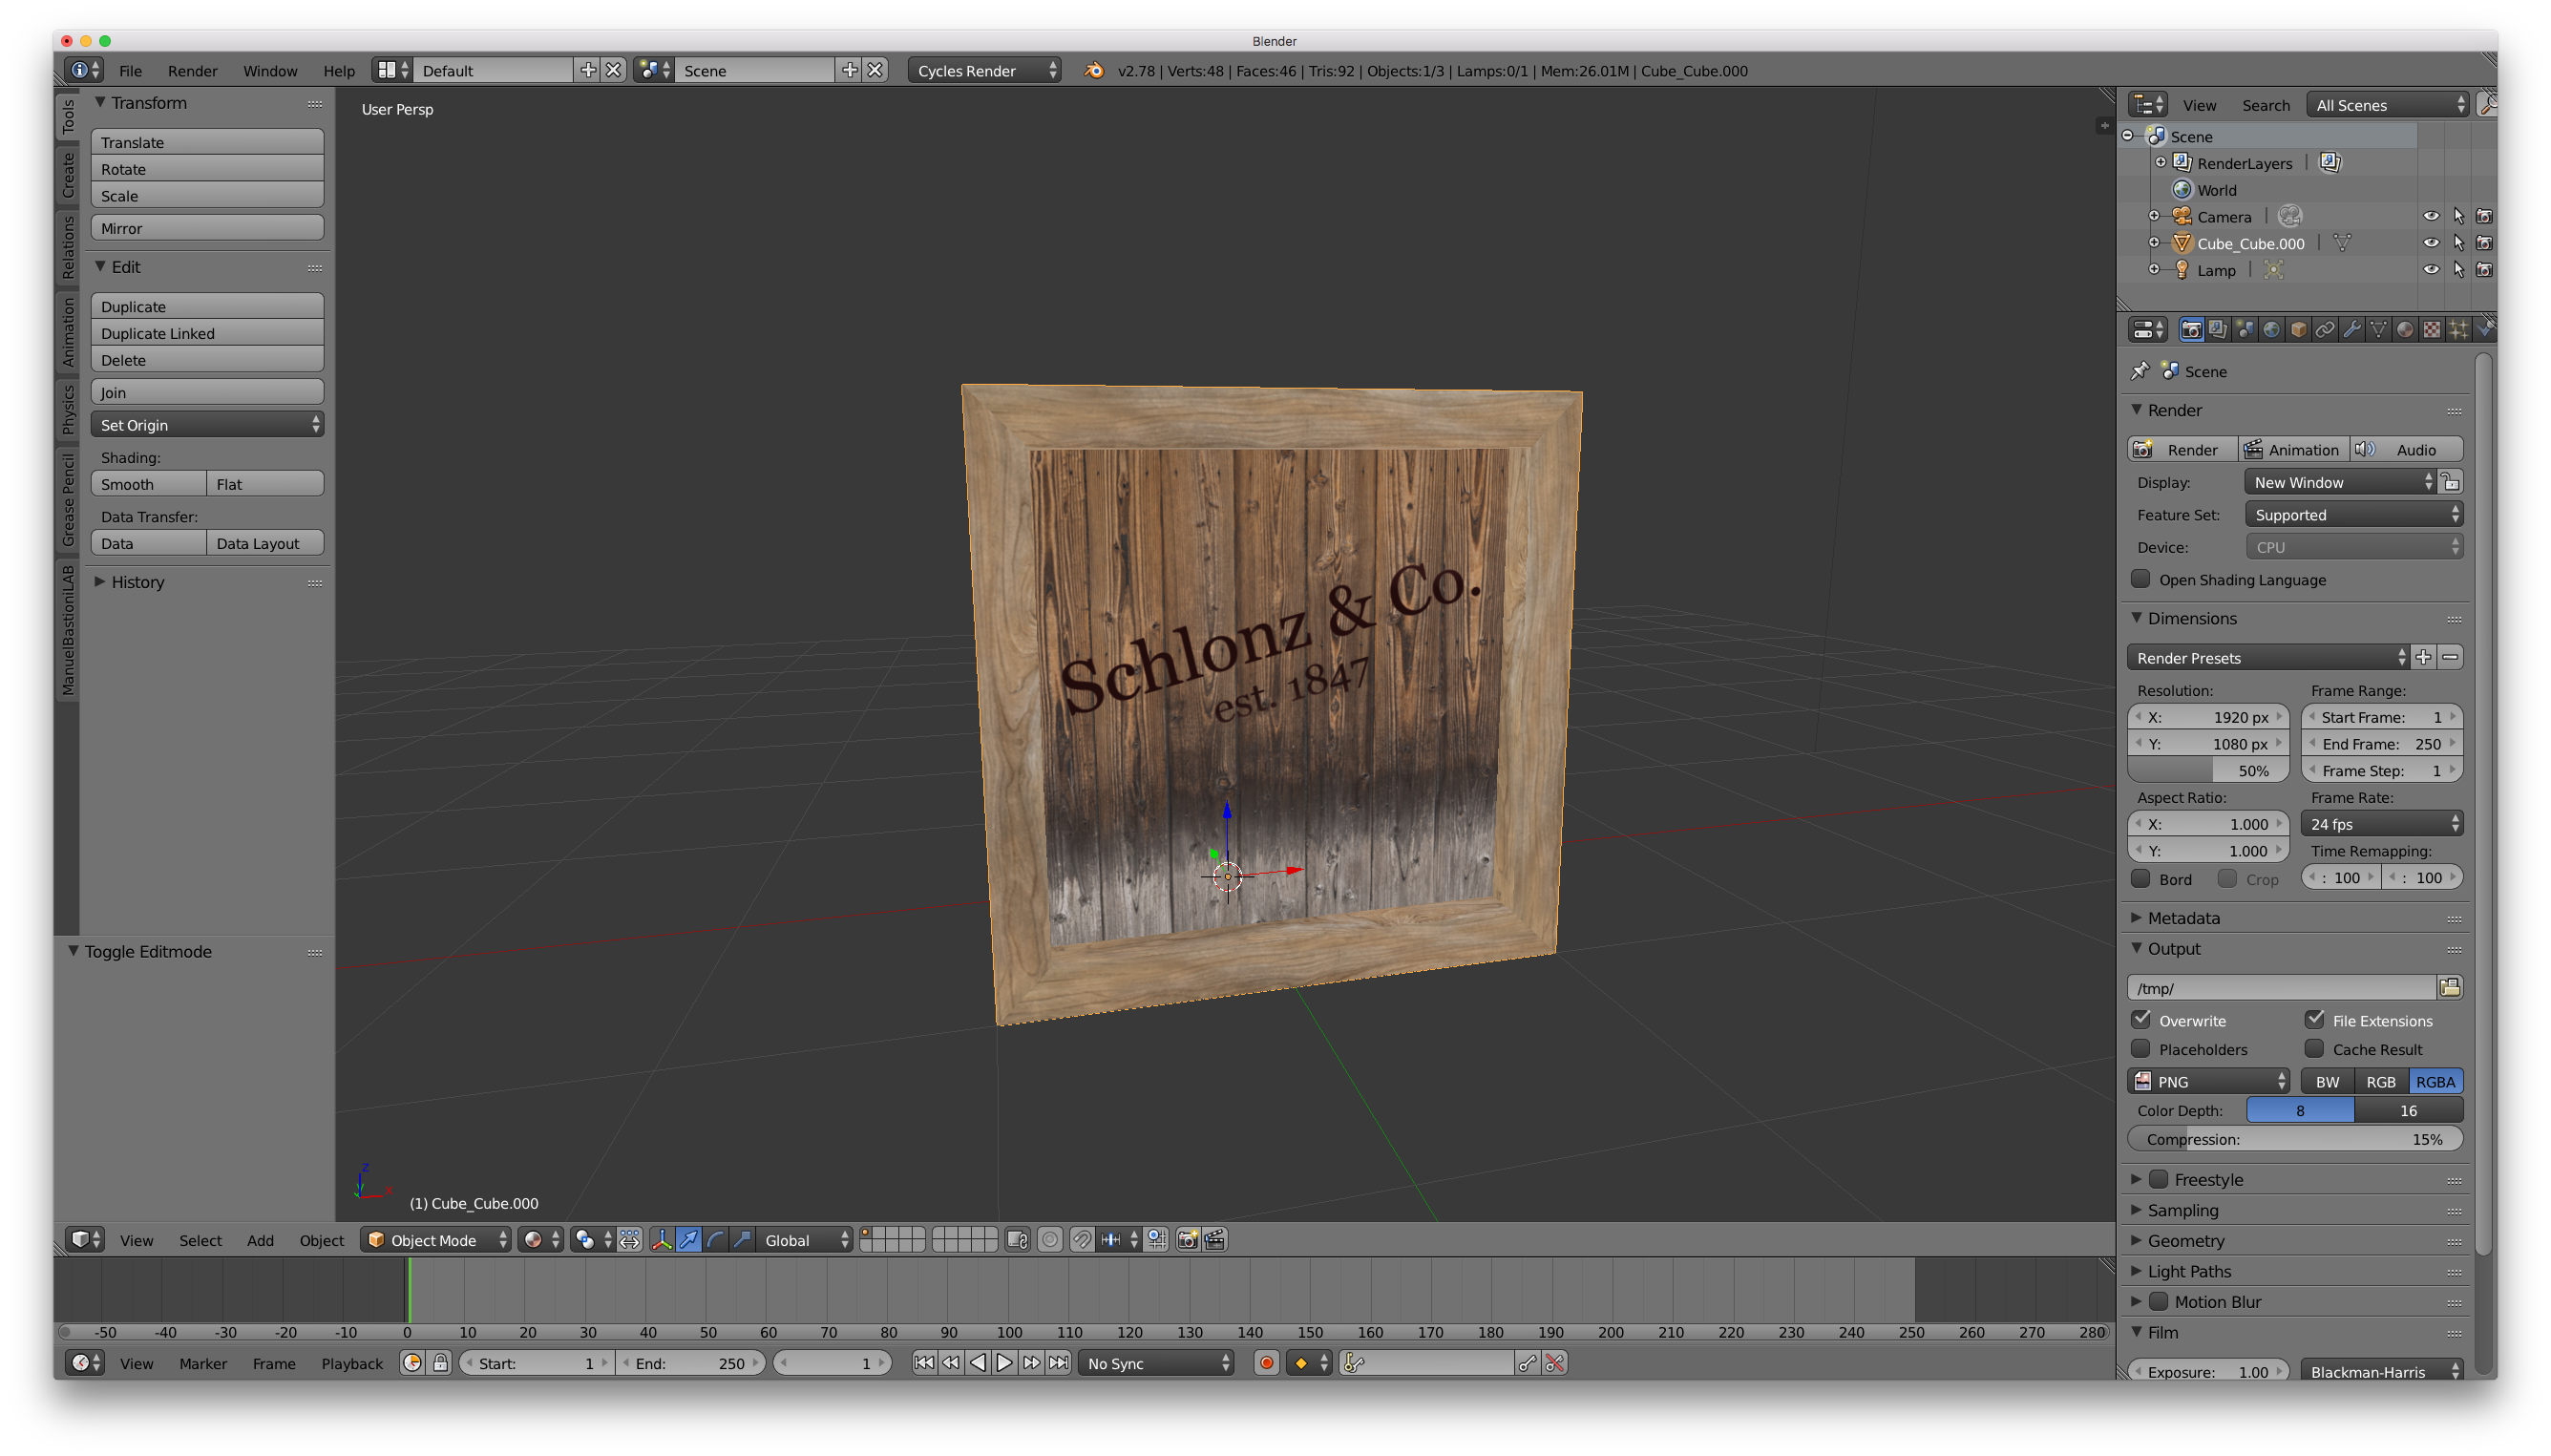
| Zbrush applying texture maps | Try to keep it simple, you don't need to over complicate the clothing. More details here. Our object still shows no surface detail, so lets go back to Geometry and increase the subdivision level again to the highest point, just like it was when you started painting. To fix this, take a look at the UV Map panel. Set up the Standard brush exactly the same but use the same Alpha you used for the pores instead of the vein Alpha. |
| Zbrush applying texture maps | 36 |
| Zbrush 2022 free | 658 |
Share: