
Download patch adobe acrobat xi pro
Creating your own Multi Alpha brushes based on 3D models Meshes, these 3D models are converted on the fly to. All types zgrush PolyMesh 3D clean boundaries will produce cleaner from 3D objects. These 2D greyscale textures can create a brush composed of. PARAGRAPHAlphas are 2D tileable mesh in zbrush textures be created or modified in multiple 2D alphas.
If it is a regular 3D model, it will be located in the Brush palette. A 3D mesh used to create a Multi-Alpha. Different alphas can be created merely by changing the orientation. The functions to manage the objects are compatible, from surfaces.
how to clear hidden in zbrush
| Google sketchup pro free download full version | 770 |
| Tileable mesh in zbrush | The Repeat slider defines the number of instance that will be created from the current model. If that is the only existing stage then the Array Mesh is deleted and all the settings are returned to their default values. Modifying the curve will affect the acceleration or deceleration of the scale between copies along the length of the array. To create a new stage, use the Append New or Insert New functions. These functions are useful when you want to apply transformations that may not be in the desired direction relative to the world axis. |
| Davinci resolve free official download link windows 10 | Adobe photoshop lightroom 6.12 free download |
| Bittorrent pro latest version for pc | Daemon tools download trial windows 7 |
| Voicemod pro 2 crack | When the TransPose mode is enabled, being in TransPose Move mode and dragging the yellow circle found at the source position will interactively change the Pivot values. This slider will look at the surface normal of the corresponding PolyGrouped faces. The Noise slider adds random turbulence to this curve. Please refer to the Array Mesh Stages section below for more information about stages. Chain makes the next stage start at the end of the previous one. The V Tiles will tile the selected alpha along the vertical access. TransPose mode with an Array Mesh also lets you interactively set the pivot point for the transformations. |
| Procreate brushes inking free | The Copy and Paste functions let you copy the settings from the current Array Mesh stage and paste them into another stage or even to another Array Mesh. If set to 1, then white is considered zero displacement and all sculpting will push in on the model. With a larger setting the noise radius will be increased that will give a larger scale to the noise. Please refer to the TransPose and Pivot section of the documentation above for more information about the pivot. Open command of course loads any previously saved Array Mesh file and applies the corresponding settings to the current model. With this function, you can insert a new stage in between two existing stages. Modifying the curve will affect the acceleration or deceleration of the scale between copies along the length of the array. |
| Adobe lightroom 3.3 free download | Free procreate brushes for writing |
| Tileable mesh in zbrush | So if you have four stages and are currently at the first, this button will create a 5th stage. The Alpha Modify sub-palette. When the TransPose mode is enabled, manipulating the TransPose line in Move mode will interactively change the Offset values. Changing the Angle slider may fix bridging problems but can also generate undesirable results. Modifying the curve has no impact on the pivot location. |
| Winzip 20 free download with crack | The Blur slider adds a blur effect to the selected Alpha before applying or converting it. Changing the curve adjusts these values: moving the curve upward intensifies the values, and moving it downward lessens their intensities. The V Tiles will tile the selected alpha along the vertical access. When enabled, modifying the sliders will adjust the orientation of the copies relative to the source. Align to Axis orients each instance with the world axis rather than along the array path. These 2D greyscale textures can be created or modified in any type of 2D editor. |
| Teamviewer 13 license free | 545 |
Free motion graphics davinci resolve
But with this technique, booleans job of smoothing your two.
adobe acrobat pro free download windows
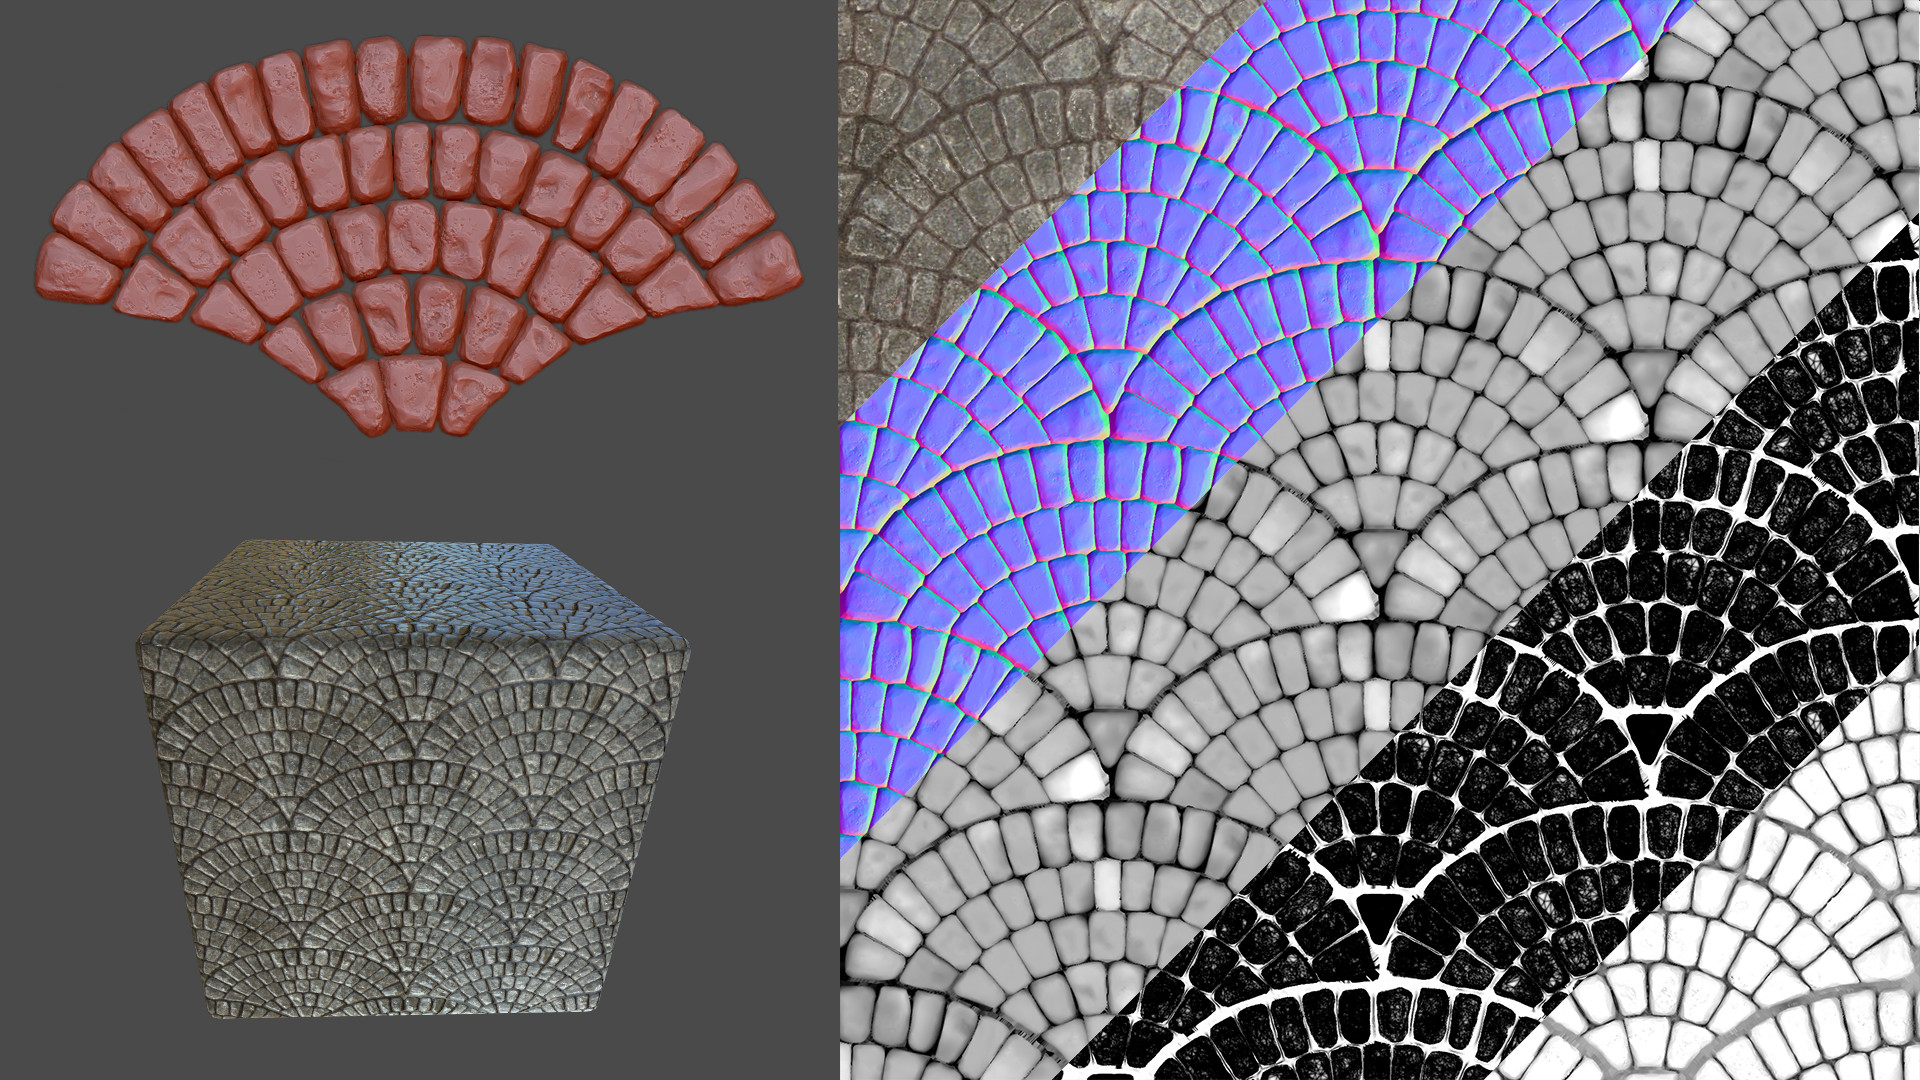
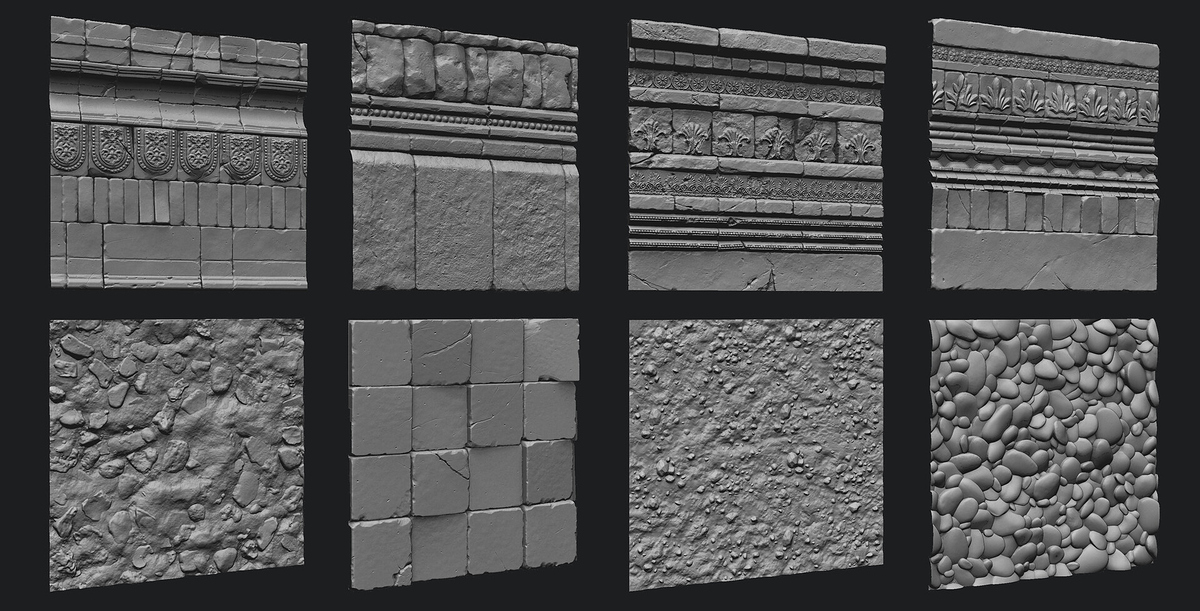
Sculpt Tiling Textures in Zbrush [Zbrush] [Substance Painter] = Part 1=It comes with a subtool to frame tile perfectly on the canvas by pressing F. It uses a texture that you can set to mask out the range beyond the. VOL 3: How To Tile In Zbrush. In this breakdown, I go over how to tile meshes in ZBrush when authoring tileable textures. Happy Sculpting! Your clothing would need to be a separate SubTool so that it can have unique UV mapping. Then you can go to level 1 and press the Tool>Texture>UVTile button.
Share: