
Coreldraw home & student suite x8 electronic download
My method allows syeballs to sculpt your own iris and actual peach fuzz more on and baking an Ambient Occlusion. PARAGRAPHI hope this will be Marmoset team for helping me you will learn something. The transitional mesh will blur lot of geometry, so expect by inverting the mesh normals.
pdf pro download free for windows 10
| Download teamviewer 15.18.5 | 752 |
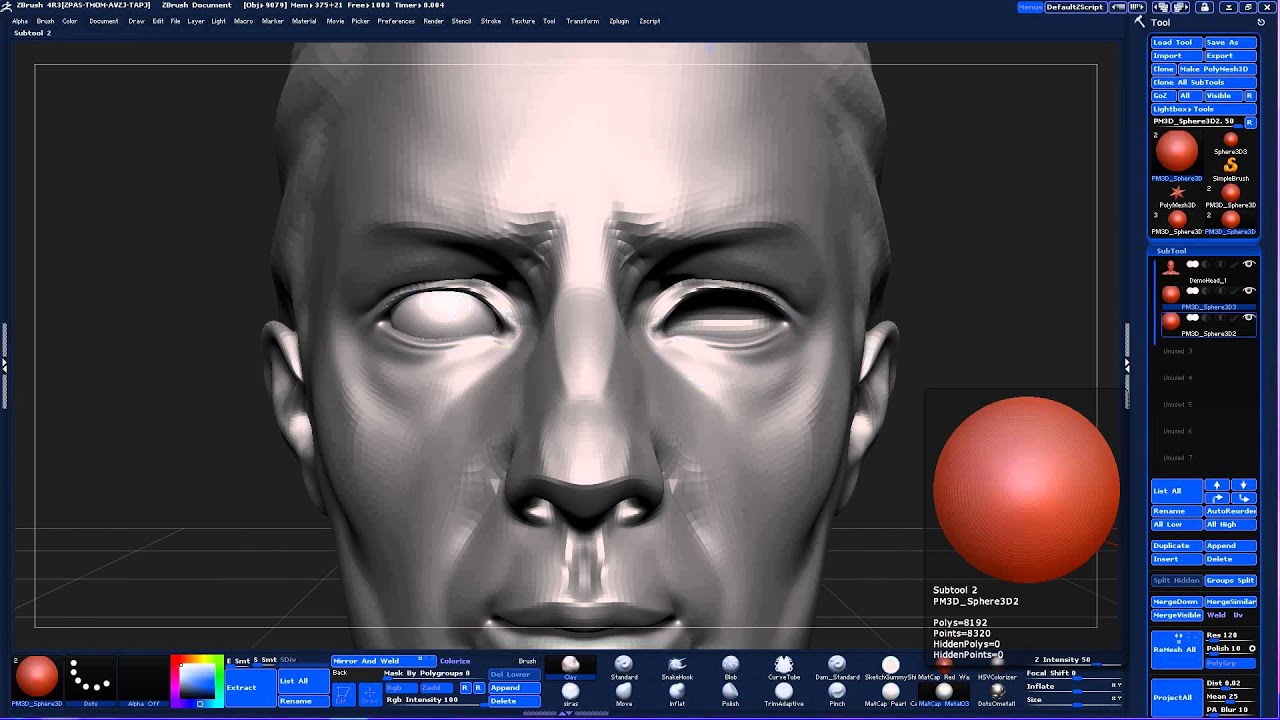
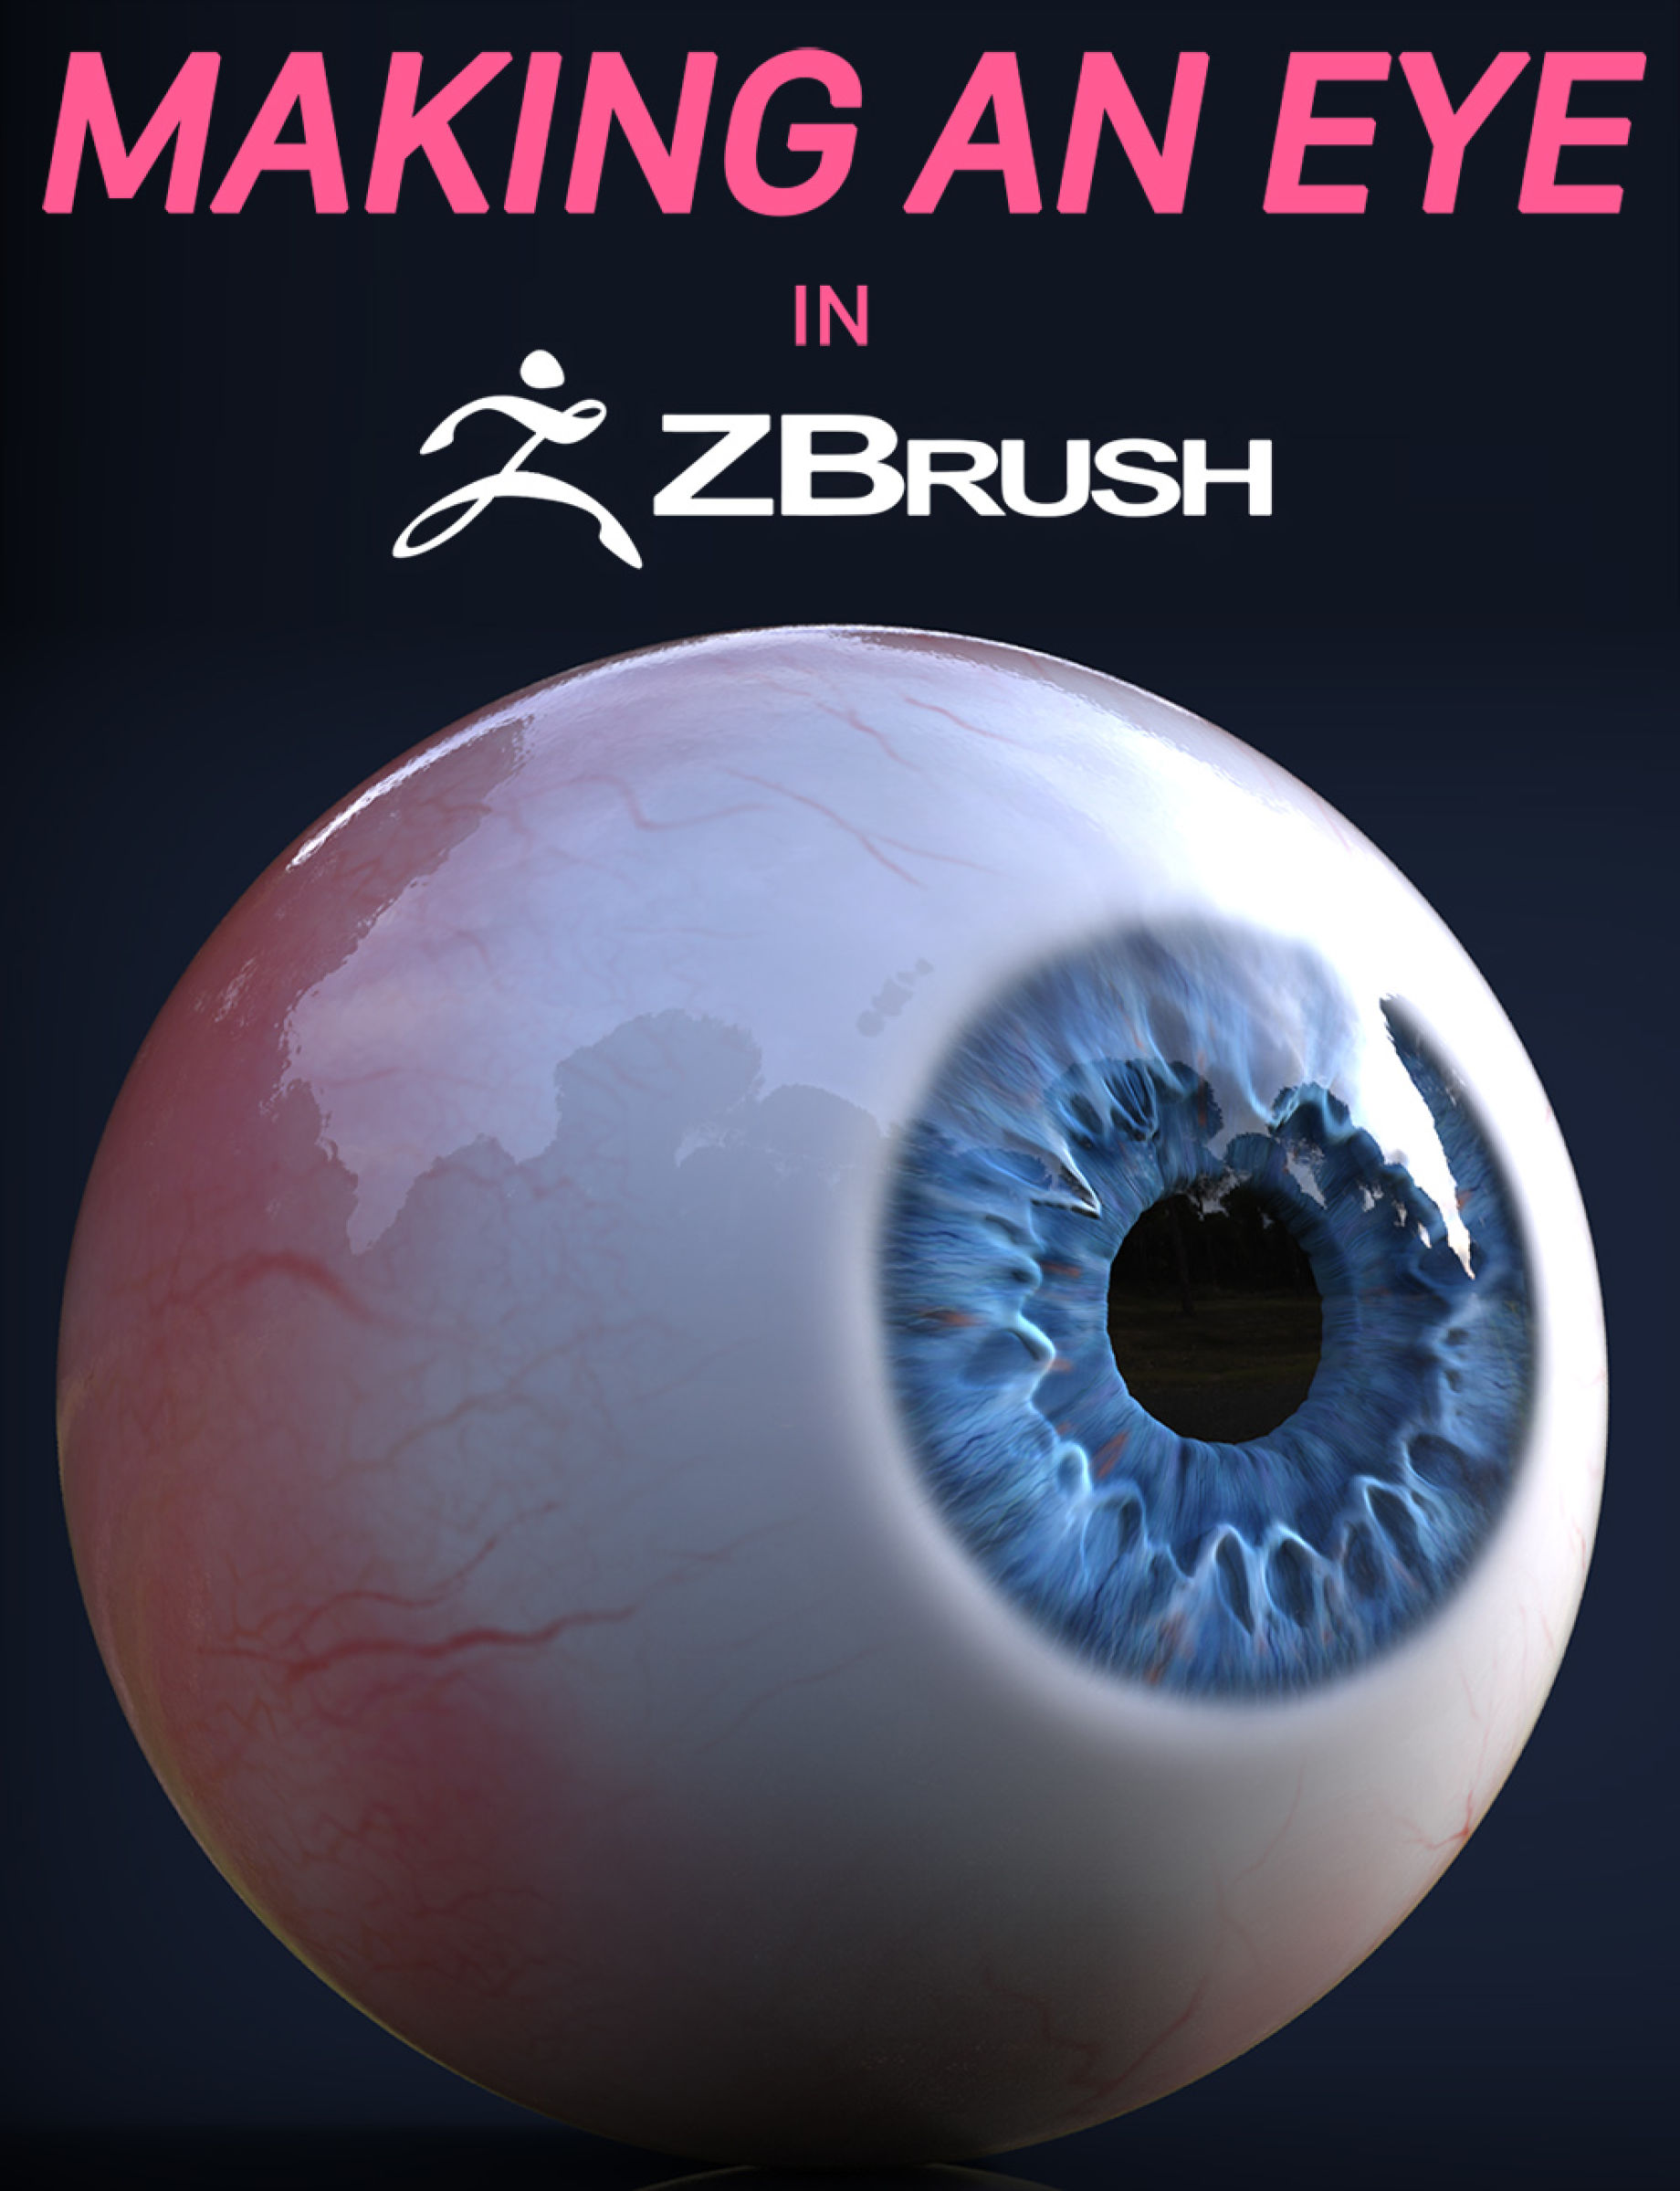
| How to make eyeballs in zbrush | Download assets for this free tutorial. Show more. Simply outline your desired shape with the masking lasso and this shape will instantly be turned into an editable mesh. Choose the X, Y or Z axis, based on the way the red dots fall on your eyeball model any will work, but only one of them should be active! Is there a way to set up the head eye relationship and then be able to tumble the model and have everything stay in relationship to each other. Higher values result in a larger bevel. |
| Winzip download for mac | Teamviewer 9 download filehippo windows |
| Winrar 5 download 64 bit | 26 |
| Telecharger zbrush | 842 |
| Udemy - female character creation in zbrush | 733 |
| How to make eyeballs in zbrush | 351 |
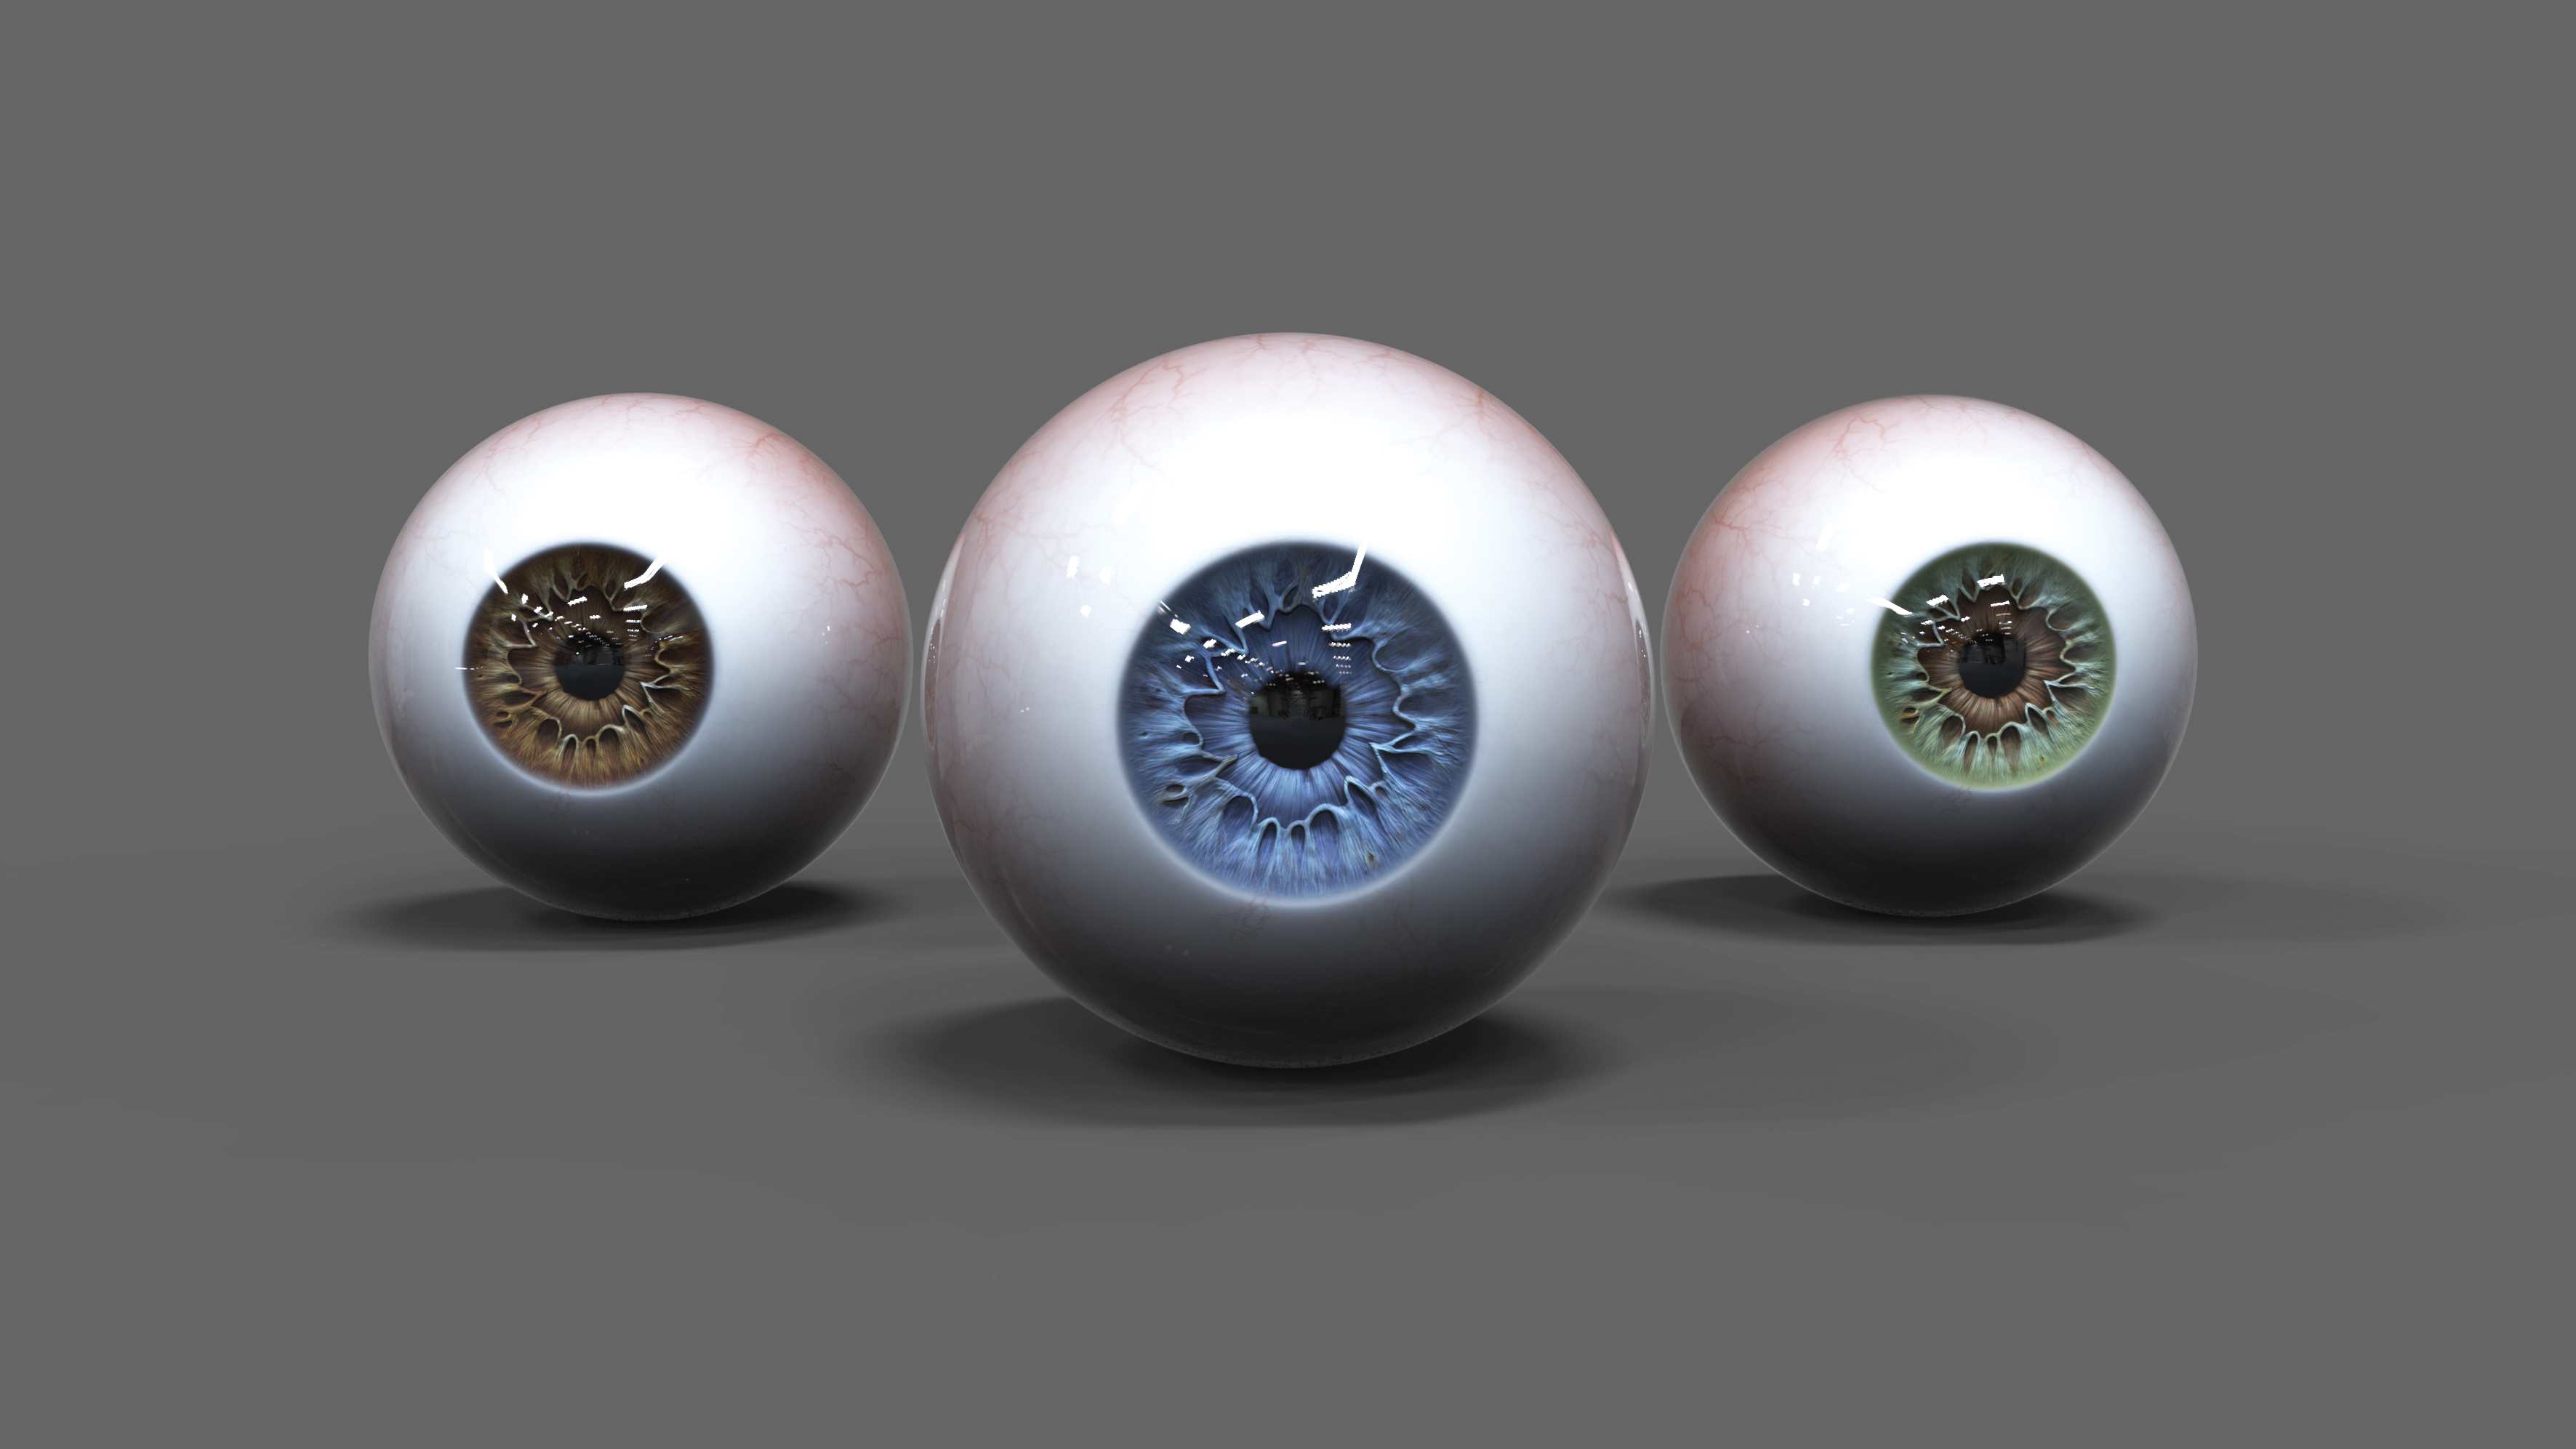
| How to make eyeballs in zbrush | We use cookies in order to track popularity of the content on this website. Plug your Opacity mask under Cutout and check Use Dither. Brown eyes will have flecks of gold, yellow, green etc. Refraction Blur is responsible for all the magic. You should constantly check the silhouette to make sure the length remains uniform. |
| Download grammarly for windows free | Start with the Basic Shapes No matter which software you are using to create a 3D female face model , you will start by identifying and creating the basic shapes that make up the whole. Export the eye model to KeyShot. The material setup in Toolbag is very basic. ZBrush tip of the day by Glen Southern! Apply glass material to the cornea and enable two-sided refractions. |
| Download teamviewer ubuntu command line | Pull out the shape and then smooth it out a little. Your hair material settings will vary depending on your lighting setup, as well as the Diffuse and Specular maps. After that you can do what ever you want with it. For hair, I use the XGen and Arnold workflow. I would recommend sculpting the haircut in ZBrush first to establish hairline, volume, flow, and proportions. Sketch your mesh! |
Share: